How to Beat Shoulder Impingement
Looking to resolve your shoulder pain in less than 6 weeks without having to take medications or spend countless hours at medical appointments?
The following tried-and-true guideline is the product of years’ worth of parsing through the research, working in the trenches treating CrossFit athletes and weightlifters, and going through multiple bouts of shoulder rehab after 4 surgeries. By following this guideline, you no longer have to spend months modifying your workouts, losing hours of sleep, or trying every treatment under the sun to get some relief.
But first, what is shoulder impingement and why is it such a common issue among lifters? Is it really an anatomical issue that leads to “impinging” of the soft tissue structures of the shoulder?
Originally, shoulder impingement was thought to be a result of an anatomical abnormality of the “acromion” bone, which hangs over top of the shoulder where it meets the clavicle. The idea was that an over-intrusive acromion led to too much contact between the acromion and the tendons that run underneath it, specifically the long head of the biceps and the rotator cuff tendons.
Over the past few years, however, the medical community has discovered that this issue is much more nuanced than a simple structural abnormality. Research has shown that this type of shoulder pain is less a result of this physical “impinging,” and more a result of overuse of said tendons that result in those tendons becoming irritated. Once those tendons and surrounding soft tissue structures become irritated, certain positions in which those structures come into contact with the acromion, such as reaching overhead or across the body, can lead to pain. This is not to say that those positions of “impingement” are inherently problematic, as this type of contact is inevitable with any type of overhead motion or reaching across the body. Think of it more as an aggravating factor in the presence of tendon injury as opposed to being a cause of the injury.
This is good news, because it means that this injury is NOT a result of anatomical abnormalities that are out of our control. We can’t alter bone structure, but we CAN alter tendon structure and the pain experience that goes along with tendon irritation.
Here’s how:
- Work around the injury. In the early stage of this injury where pain levels are high, it is important to strengthen the structures around the injury site in order to provide support to the area, take some of the load off of the injured tissues, and apply the pain-reducing effects of exercise to the shoulder without overloading the injured tendons. In this stage it is also important to modify workouts (rather than stopping completely) to reduce painful lifts and movements. Some go-to exercises in this stage include:
- Shoulder external rotation (below shoulder height)
- Dumbbell forward raises (to shoulder height)
- Rows // banded pull aparts (at or below shoulder height)
- Build it back up. In the mid-stage of recovery, where pain has reduced and you are able to move your shoulder more liberally, it is important to start exercising the shoulder in ranges above shoulder-height as well as to begin loading the tendons in question. Additionally, this is when it can be appropriate to start weaning back into more normal exercise movements at lower intensities, making sure that the pain stays below a 3/10. Exercises here can include:
- Crossover symmetry “Y Raises”
- Shoulder External Rotation (arm 90 degrees from torso)
- Lateral shoulder raises (through full range of motion)
- Kips
- Snatch balance
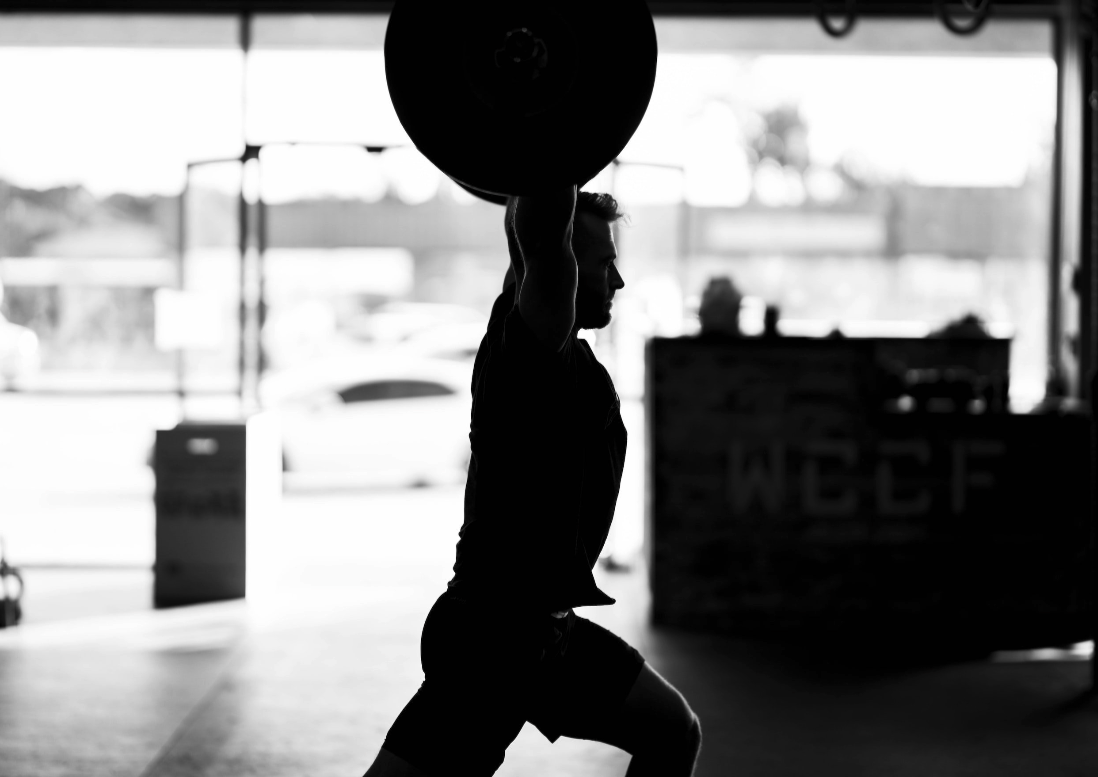
- Return to sport phase. This is the fine-tuning stage meant to ensure the shoulder structures are conditioned for high level sport performance. This is where it is important to expose the shoulder to higher velocities across a wide variety of positions to ensure that it is fully prepared to withstand the demands of your sport. Exercises here will vary greatly depending on your sport but examples for crossfit athletes and weightlifters can include:
- Kipping pull ups (working up to previous volumes)
- Snatches (working up to previous intensities)
- Jerks (working up to previous intensities)
- Push press (working up to previous intensities)
It is important to note that these are general guidelines and are not meant to replace guided physical therapy with a professional who specializes in the treatment of athletes. Treatment should be highly individualized to each athlete and may therefore look very different based on the athlete’s condition, pain levels, goals, etc. By adhering to these principles, however, you will be much more likely to experience a quicker recovery and return to the things you love!
Dr. Brooks Kenderdine
DPT, PT, CSCS, USAW-1
Co-owner | The PATH Rehab & Performance
Sign up for our newsletter
Join our community and receive exclusive physical therapy insights, training strategies, and recovery techniques tailored for active people.